
How To Change A Flat Tire Yourself: Step By Step Guide
emergency repairs
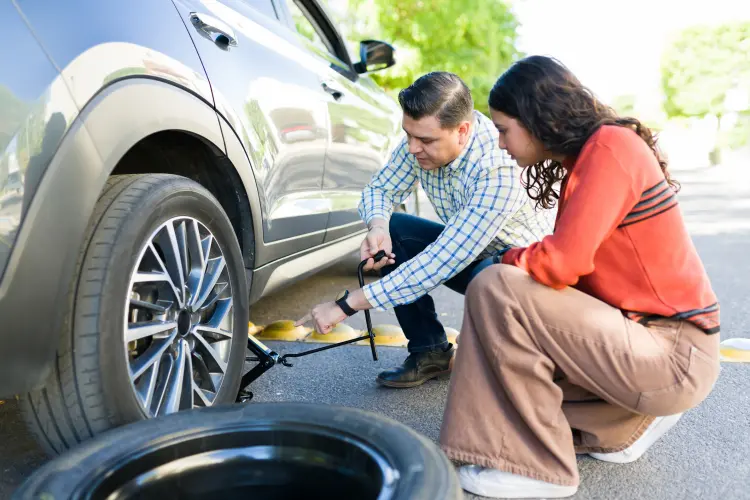
11,345Getting a flat tire can be stressful—especially if you’re alone on the side of the road. But with a little know-how and the right tools, you can swap in your spare quickly and safely. Here’s a step-by-step guide to help you get back on the road in no time.
1. Find a Safe, Level Spot
As soon as you notice the flat, slow down gradually and look for a wide, flat area away from traffic—ideally a parking lot or the shoulder of a quiet road. Turn on your hazard lights, apply the parking brake, and, if you have them, use wheel chocks or heavy objects behind the opposite tires to keep your vehicle from rolling.
2. Gather Your Tools
You’ll need:
-
Spare tire (check its pressure regularly)
-
Jack (vehicle-specific; stored under or beside the cargo area)
-
Lug wrench (usually L-shaped)
-
Wheel chocks or heavy rocks
-
Gloves and flashlight (for safety and visibility)
Keep these tools in your trunk so they’re always within reach.
3. Loosen the Lug Nuts
Before lifting the car, use the lug wrench to break the lug nuts free. Turn each nut counter-clockwise—but only about a half turn. Loosening them early prevents the wheel from spinning once the car is raised.
4. Position the Jack
Consult your owner’s manual for the correct jacking point—usually a reinforced metal section behind the flat tire. Place the jack solidly on the ground and begin cranking until the flat tire is about six inches off the ground. Ensure the jack remains vertical and stable as you lift.
5. Remove the Flat Tire
Finish unscrewing the lug nuts by hand and set them aside in a safe spot (don’t drop them in the grass!). Grasp the tire at the 3 and 9 o’clock positions, pull it straight off, and lay it flat behind your vehicle as an extra wheel chock.
6. Mount the Spare Tire
Line up the spare’s bolt holes with the hub, then slide it on. Hand-thread the lug nuts to hold the spare loosely in place. Once the wheel is on, lower the jack until the tire just touches the ground—enough that it won’t spin—and tighten the nuts in a star or crisscross pattern to ensure even pressure.
7. Lower the Vehicle & Torque the Nuts
Lower the car fully and remove the jack. Using the lug wrench, give each lug nut a final snug turn—again in a star pattern—until they’re firmly seated. If you have a torque wrench, aim for your manufacturer’s specified torque rating; if not, tighten until it’s very difficult to turn the wrench by hand.
8. Stow Everything & Check Tire Pressure
Put your flat tire and tools back in the trunk. Before you drive off, use a tire gauge (or visit the nearest gas station) to ensure the spare is inflated to at least 30 PSI or the pressure indicated on its sidewall.
Pro Tip: Most spares—especially “donut” tires—are rated for short distances and lower speeds (usually under 50 mph and 70 miles). Plan to head straight to a repair shop.
9. Head to a Professional Repair Shop
A spare is a temporary fix. As soon as you safely can, have your damaged tire patched or replaced by a certified technician. If you don’t already have roadside assistance, now’s a great time to sign up for coverage that includes tire changes, towing, and more.
10. Prevent Future Flats
-
Inspect your tires monthly for cuts, punctures, and tread wear.
-
Maintain proper tire pressure—both under- and overinflation can lead to blowouts.
-
Rotate your tires every 5,000–8,000 miles to ensure even wear.
Although you can get specialized coverage for tires, remember that because they are a wear and tear item, flat tires are not covered by an extended warranty.
Changing a flat by yourself takes confidence and preparation. Keep your tools accessible, practice these steps at home once or twice, and you’ll turn a roadside headache into a straightforward task. Safe travels!
TL;DR: A flat tire can strike at any moment, but with a little preparation and the right steps, you can swap in your spare and get rolling again in no time. In this post, you’ll learn how to choose a safe spot, gather the tools you need, loosen lug nuts, position the jack, mount and secure the spare, and double-check your work—all in a straightforward, step-by-step guide designed to build your roadside confidence.
— Demetrius McGee